
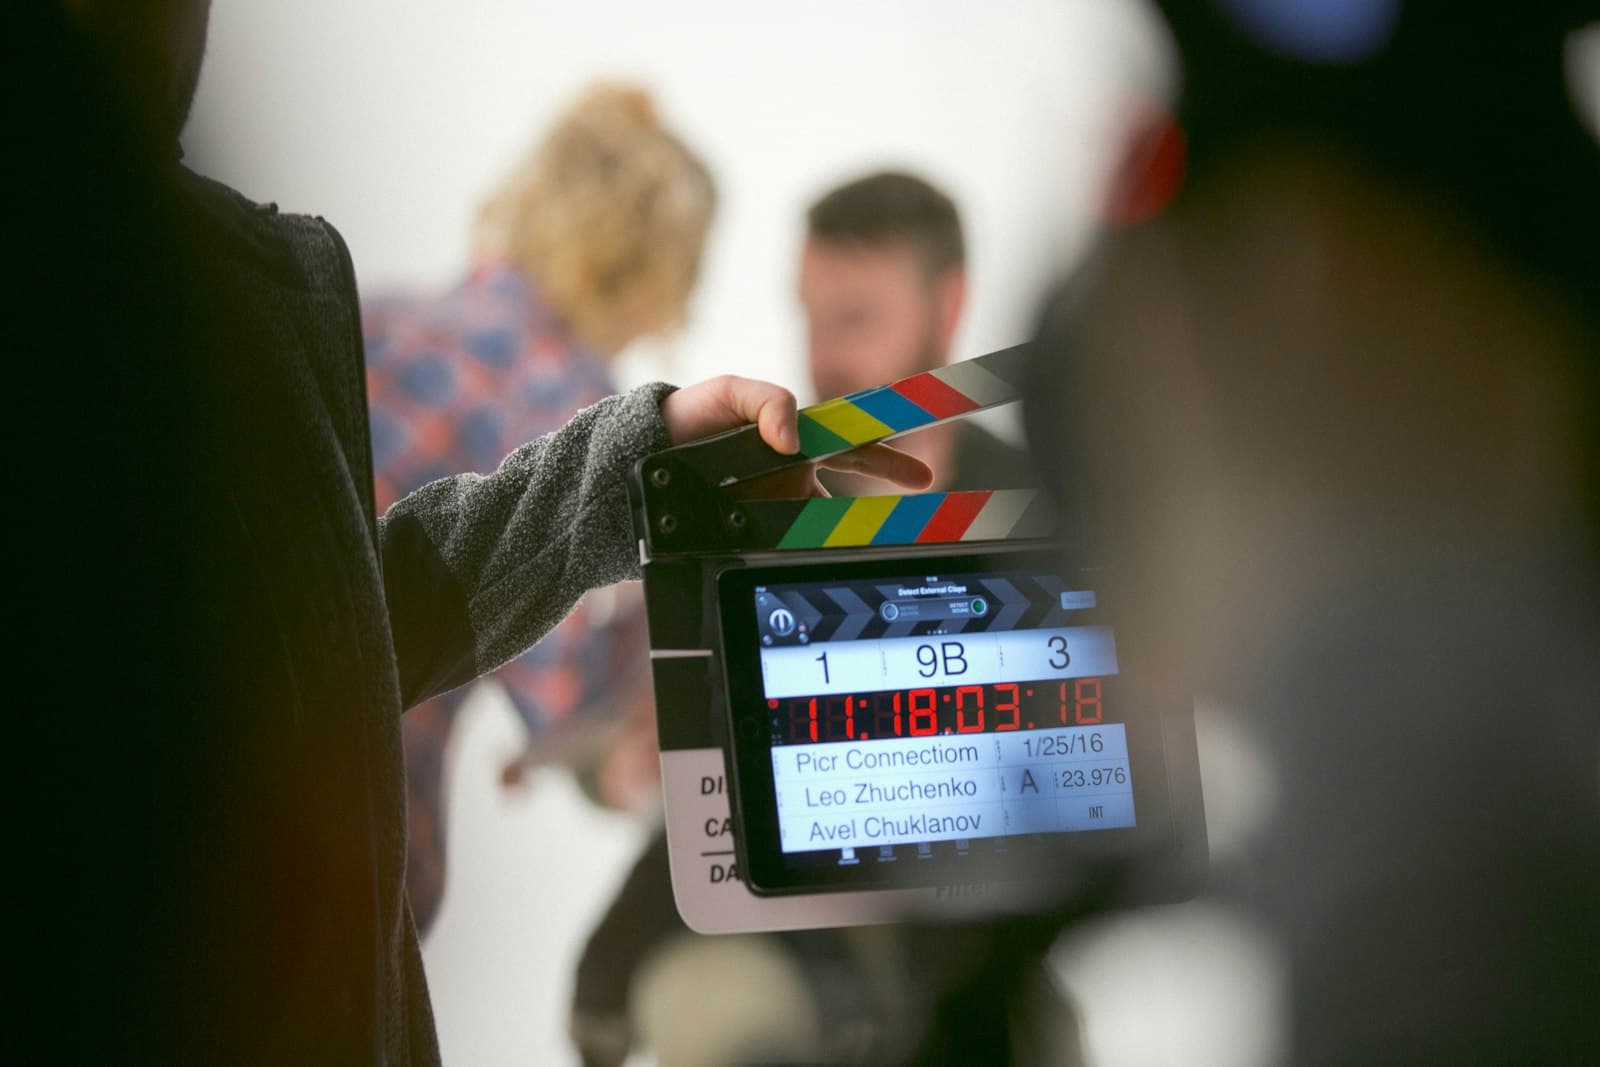
Every video project — a short film, a music video, a 30-second ad — hits the same wall: you can see the shots in your head, but nobody else can. Traditional storyboarding solves this with drawings, which means either paying a storyboard artist by the frame or subjecting collaborators to your stick figures. Both slow you down at exactly the stage where you should be iterating fastest. Generating your storyboard as cinematic AI stills changes the economics: each frame takes seconds, looks like a film still, and can be rerolled the moment the director (you) changes their mind.
Why use a cinematic style instead of regular images?
A storyboard frame has one job: communicate the shot. That means the frame needs to carry film language — framing, lens feel, lighting direction, color grade — not just show the subject. The cinematic style exists for this: it renders prompts as movie stills with widescreen composition, anamorphic depth of field, and graded color, so a one-line prompt reads like a frame from an actual production.
The practical difference shows up immediately. a woman waits at a bus stop at night in a generic style gives you an illustration of a woman. In cinematic style it gives you a shot — sodium-lit, shallow focus, framed like the opening of something. Your collaborators react to the second one the way they'd react to dailies.
How do I write prompts that read as shots?
Write each prompt the way a shot list is written, with the camera's position stated outright. Three ingredients per frame:
- Shot size:
extreme wide shot,medium shot,close-up,over-the-shoulder - The action, in one clause: what is happening in this beat, not the whole scene's plot
- Continuity anchors: the recurring details that tie frames together — the same
rain-slicked street, neon signage, teal and orange gradephrase pasted into every prompt in the sequence
So a three-beat sequence becomes three prompts sharing one anchor phrase:
extreme wide shot, lone figure crossing an empty intersection — rain-slicked street, neon signage, teal and orange grademedium shot from behind, the figure stops at a shuttered arcade door — rain-slicked street, neon signage, teal and orange gradeclose-up, gloved hand pressing a buzzer, breath fogging in cold air — rain-slicked street, neon signage, teal and orange grade
The shared anchor keeps location, lighting, and grade consistent across the sequence, which is what makes nine images read as one film instead of nine posters. Set the aspect ratio wide, keep it identical for every frame, and generate each beat as a batch of four so you're picking the best take per shot, like a real edit.
Character consistency across frames is the hard part of any AI storyboard, and the honest advice is to lean on silhouettes: describe characters by strong, repeatable visual signatures — figure in a long red coat — rather than facial detail, since faces will drift between generations. For boards where a character must genuinely persist, the reference-image techniques in the consistent character guide apply directly.
What does the full workflow look like?
An afternoon, start to finish:
- Write the beat list first. Ten to fifteen beats, one sentence each, before generating anything. The board is only as good as the beats; generation can't fix structure.
- Establish the look with one frame. Iterate on a single establishing shot until the location, grade, and mood are right. Extract your anchor phrase from the winning prompt.
- Generate the sequence. One prompt per beat, anchor phrase in every one, same aspect ratio throughout. Batch each beat, pick one take, move on — don't polish yet.
- Read the board. Lay the picks out in order. Sequencing problems (three wide shots in a row, an unmotivated close-up) are visible in ten seconds and cost one regeneration each to fix. This is the iteration loop stick figures were always too slow for.
Can I turn the storyboard into an animatic?
This is where an AI storyboard beats a drawn one outright: the frames are already first frames. Pick the three or four key beats and run each through the video generator in image-to-video mode with a short motion prompt — slow push in, figure walks out of frame left, rain intensifies, camera static. Camera motion presets cover the standard moves, and clips run up to 15 seconds, which is more than a beat needs.
A storyboard with even a few moving key shots stops being a planning document and starts being a pitch — timing, mood, and motion all communicated before anything is filmed. The board already locked your first frames, so image-to-video does the producing — the same explore-then-lock logic that governs every AI video workflow.
Board your next project
Take the video idea you've been circling, write ten beats, and open the playground. Establish one frame, extract the anchor, generate the sequence wide. By tonight you'll have a board you can hand to a collaborator — or animate straight into an animatic — instead of a scene list only you can see.
Cover photo by Avel Chuklanov on Unsplash.