
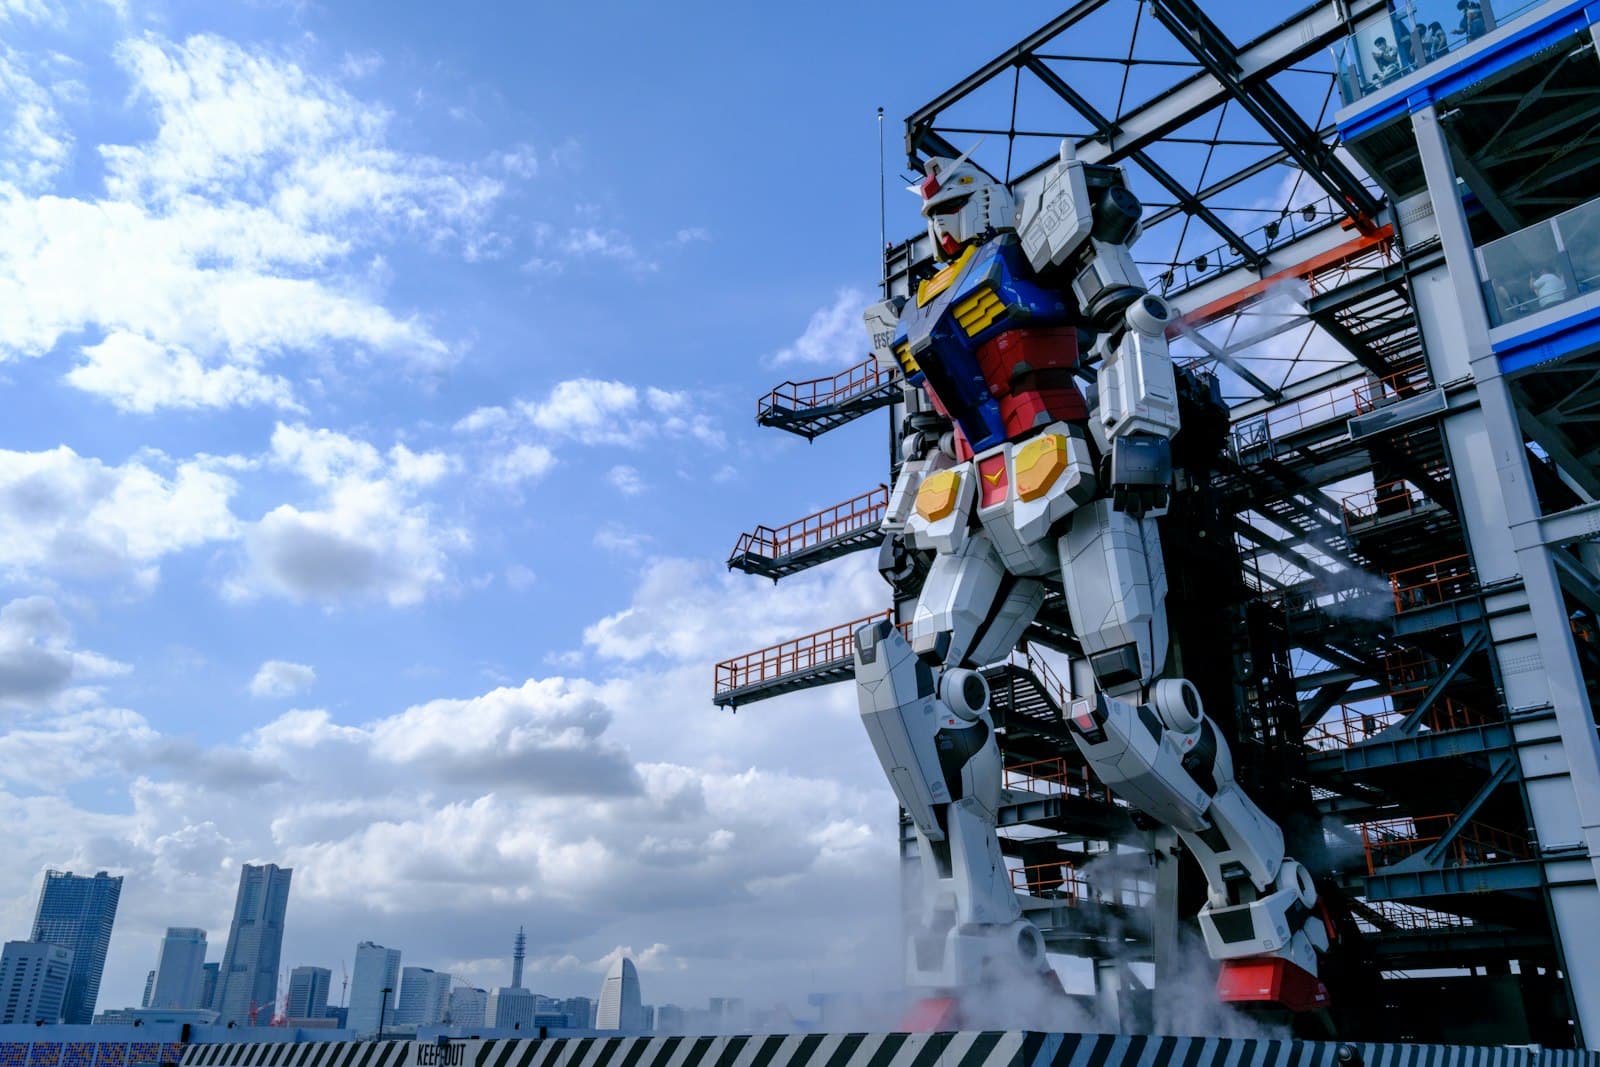
Mecha is the genre where AI generation either shines or falls apart completely. Ask for "a giant robot" and you get a vague metal humanoid with melted joints, armor panels that don't line up, and a gun that fuses into its hand. Hard-surface design is unforgiving — every seam, hinge, and thruster either reads as engineered or reads as wrong.
The fix is prompting like a mechanical designer instead of a fan. This guide covers the vocabulary that produces convincing mecha, the lighting that sells metal, and the scale tricks that make a robot feel forty meters tall. Everything here runs in the mecha style generator.
What should a mecha prompt actually describe?
A good mecha prompt names mechanical components, not just the robot. The model has seen thousands of mecha designs, and component words steer it toward the ones drawn with real hard-surface logic:
a humanoid mecha, segmented armor plating, exposed hydraulic joints at the knees and elbows, shoulder-mounted thrusters, glowing chest reactor, panel lines and decals, anime mechanical design
Compare that to cool giant robot, detailed. The first prompt gives the model specific structures to build — plating that overlaps, joints that articulate, thrusters that have somewhere to sit. The second leaves everything to chance, and chance produces mush.
Useful component vocabulary to rotate through: armor plating, panel lines, vernier thrusters, sensor head, vulcan cannons, beam saber, exposed frame, winged backpack unit, clawed manipulator hands. Two or three per prompt is enough — specificity beats volume, in mecha more than anywhere.
How do I make the robot look huge?
Scale is the heart of mecha, and it comes almost entirely from context, not from the word "giant." A robot alone on a white background could be two meters or two hundred. Give the model reference objects and a camera position:
- Low angle:
low-angle shot from street level, looking up at the mecha— the single most reliable scale cue. - Human reference:
tiny pilots standing at its feet,crowd looking up from below. - Environment reference:
standing between city skyscrapers,hangar with scaffolding and cranes around it. - Atmospheric depth:
feet disappearing into fog,head lit by aircraft warning lights— big objects interact with weather.
Stack two of these and the size becomes undeniable: low-angle shot, a mecha kneeling in a hangar, maintenance crew on scaffolds around its shoulders.
What lighting makes metal look like metal?
Metal reads as metal because of hard reflections and strong contrast. Flat, even lighting makes armor look like plastic. Prompt the light source explicitly:
dramatic rim lighting against a sunset sky— classic anime key-visual look, silhouettes the armor.harsh industrial hangar lighting, deep shadows between armor panels— emphasizes plating depth.neon city glow reflecting off wet armor— pairs a mecha with a cyberpunk palette of magenta and cyan.single glowing eye visor in darkness— menace on a budget; the less you show, the less can go wrong.
Glow is also a design element: glowing chest reactor, luminous cyan accents along panel lines give the model focal points that carry the composition.
How do I fix melted joints and fused weapons?
Anatomy errors are the genre's plague, and two habits reduce them. First, add negatives — blurry, melted, deformed hands, fused fingers, asymmetrical armor — using the technique from the negative prompts guide. Second, control the pose: standing, kneeling, and arms-crossed poses generate far cleaner than mid-combat acrobatics, because simple poses give the model fewer overlapping limbs to resolve. Get a clean standing design first, then push into action shots with that design established.
Batch generation matters more in mecha than any other style. Even with a strong prompt, expect to generate four and keep one — hard-surface detail simply has more ways to go wrong than a soft portrait does. The generator queues variations quickly, so re-rolling costs seconds rather than effort.
Can I keep the same mecha design across images?
Yes, and it works the same way as keeping a human character consistent: generate one hero image of the design, then use it as a reference image for every follow-up angle and pose. Describe only what changes — same mecha, kneeling in a hangar, maintenance lighting. The full workflow is in our character consistency guide; it applies to robots exactly as it applies to faces, and it's how you build a spread of the same unit across a battle sequence.
Build your first unit
Open the mecha generator, start from low-angle shot, humanoid mecha, segmented armor plating, glowing chest reactor, rim lighting against a sunset sky, and swap in components from the vocabulary list until the silhouette feels like yours. Generate a batch, keep the cleanest design, and use it as your reference for every image after. Pick a plan or a credit pack when you sign up and you're ready to generate.
Cover photo by hidefumi ohmichi on Unsplash.